
TL;DR
Discover how to leverage the new chat assistant in Dependify 1.5.1
dotnet tool install -g Dependify.Cli
Source code: https://github.com/NikiforovAll/dependify
| Package | Version | Description |
|---|---|---|
Dependify.Cli |
 |
Use Dependify directly from the CLI (supports plain, mermaidjs, and JSON formats) or from the browser. |
Dependify.Aspire.Hosting |
 |
Aspire support |
Dependify.Aspire.Hosting.Ollama |
 |
Ollama Aspire Component enables local chat completions, e.g., you can run the phi3:mini model and use it within Dependify. |
Introduction
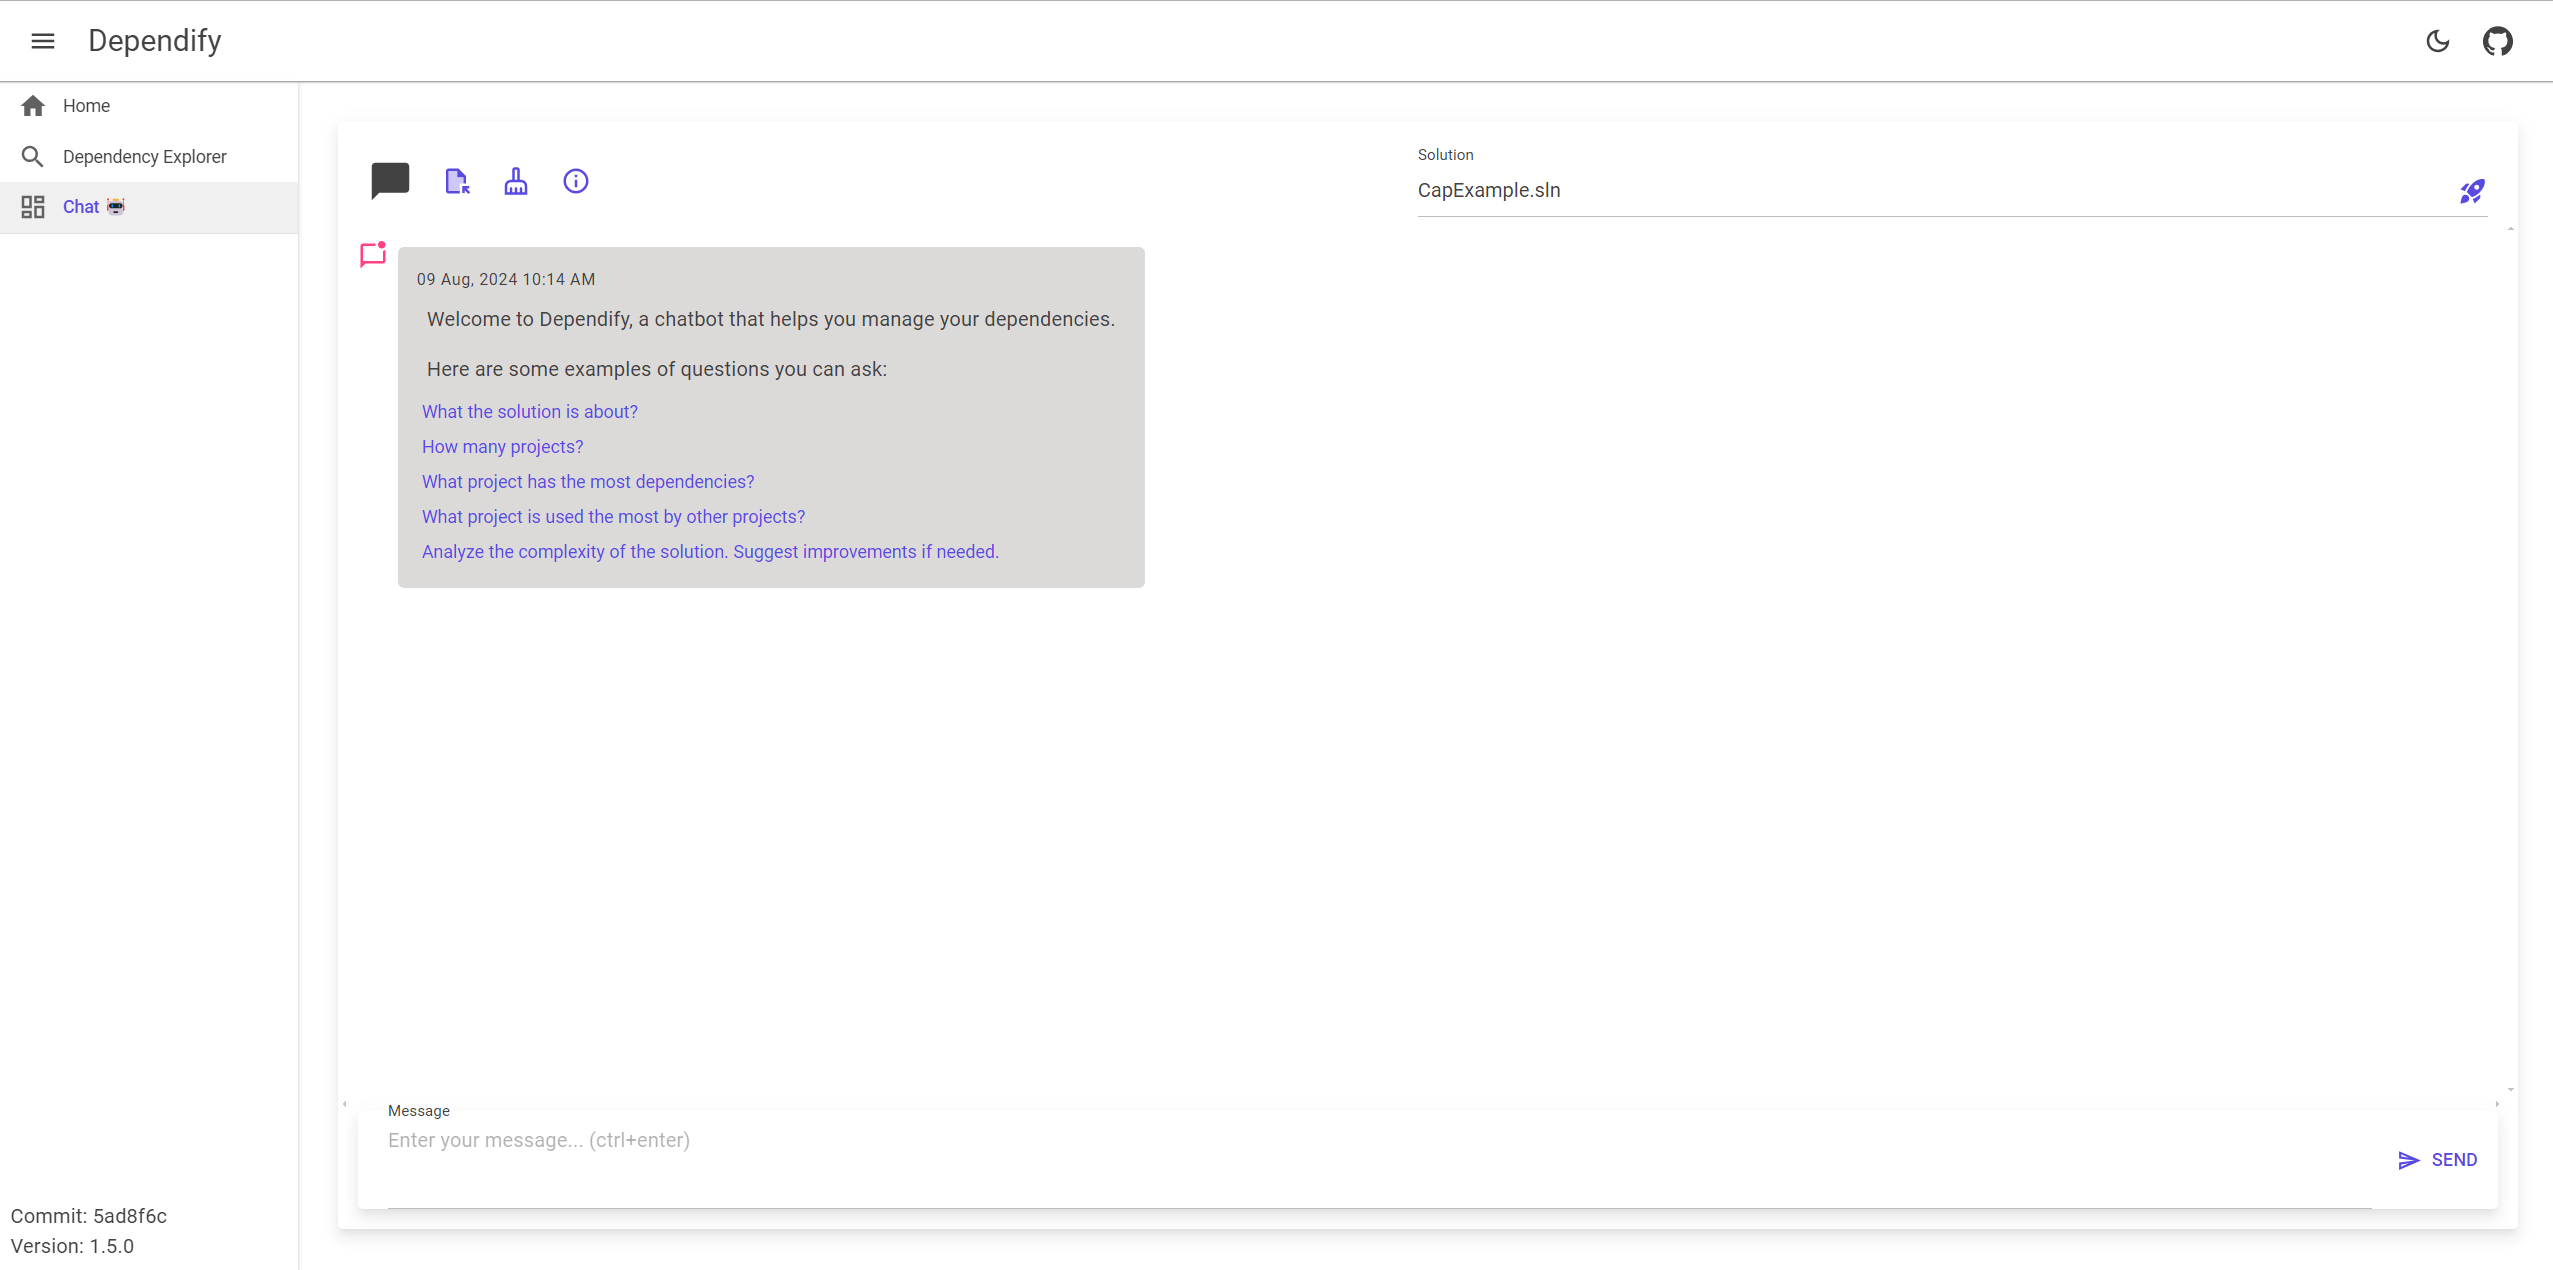
The AI chat feature enables you to inquire about dependencies. You can ask questions regarding the relationships between modules, identify potential issues, and gain a deeper understanding of your project structure.
💡Find my more about other features from my previous blog post: Explore .NET application dependencies by using Dependify tool
Run
All you need to do it to provide the API key and the endpoint to the chat assistant. You can do it via the command line:
dependify serve $dev/cap-aspire/ \
    --endpoint https://api.openai.azure.com/ \
    --deployment-name gpt-4o-mini \
    --api-key <api-key>
Configure
You can configure the chat assistant in two ways:
- Environment variables (recommended way)
- Command-line arguments
E.g:
export DEPENDIFY__AI__ENDPOINT="https://api.openai.azure.com"
export DEPENDIFY__AI__DEPLOYMENT_NAME="gpt-4o-mini"
export DEPENDIFY__AI__API_KEY=""
Aspire support
You can use Dependify as a tool/extensions for Aspire.
Add the package to AppHost:
dotnet add package Dependify.Aspire.Hosting
In the code below, I’ve added the Dependify to the Aspire starter project. (dotnet new aspire-starter)
Register via IDistributedApplicationBuilder. Add the following code to your Program.cs:
var builder = DistributedApplication.CreateBuilder(args);

var endpointParam = builder.AddParameter("endpoint");
var deploymentNameParam = builder.AddParameter("deployment-name");
var apiKeyParam = builder.AddParameter("api-key", secret: true);

var apiService = builder.AddProject<Projects.aspire_project_ApiService>("apiservice");

builder.AddProject<Projects.aspire_project_Web>("webfrontend")
    .WithExternalHttpEndpoints()
    .WithReference(apiService);

builder.AddDependify().ServeFrom("../../aspire-project/")
    .WithAzureOpenAI(
        endpointParam.Resource.Value,
        deploymentNameParam.Resource.Value,
        apiKeyParam.Resource.Value
    );

builder.Build().Run();
Configure:
dotnet user-secrets set "Parameters:endpoint" "https://api.openai.azure.com"
dotnet user-secrets set "Parameters:deployment-name" "gpt-4o-mini"
dotnet user-secrets set "Parameters:api-key" ""
Run:
dotnet run --project ./AppHost
💡 It might take some time to download Dependify from GitHub Container Registry, but eventually, you will be able to run Dependify as Aspire Component.
Conclusion
In this post, we explored the Dependify tool, which can help you navigate the dependency graph of your .NET application. By using this tool, you can visualize the dependencies between modules, identify potential issues, and gain a better understanding of your project structure.
References
